Exploring the Material Workflow
As a graphics programmer, I believe it is really important to understand the workflow behind the artwork. I have worked with artists on many occasions and have a rough idea of what is involved, but I still have significant gaps of knowledge. So in order to improve my understanding of this topic, I decided to go through this process myself and create a material from scratch.
For this exercise, I decided to make a pressed metal floor tile. I started off with a reference image:
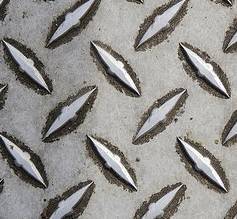
NOTE: The above photo was taken by Deb Malewski. She kindly gave me permission to use the image in this article. Please do not use this image in your own works without first seeking her permission.
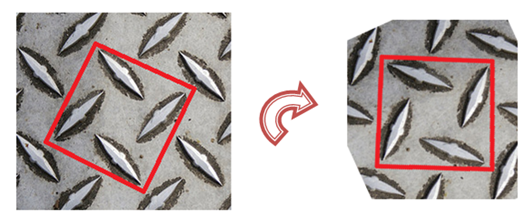
As I wanted my material to be repeatable, I looked closely at the reference image to find my “square of repetition”. Using GIMP, I drew this square onto the reference image and then rotated it to yield an axis aligned reference image (on the right, below):
Because my illustration skills are terrible, I decided not to hand draw this texture. Instead, I decided to model it in 3DS Max. As well as playing to my strengths (I am proficient in 3D modelling), the benefit of this approach is that the resultant geometry can be subsequently used to generate normal maps, displacement maps, etc. for free.
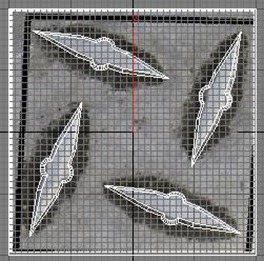
In order to model the surface, I imported the reference image as a viewport background in 3DS Max and drew a polygon outline of one of the “bumps”. I then extruded this polygon, and scaled it to produce a bevel. Once I was happy with the bump, I simply duplicated it three more times, and placed these duplicates over the remaining bumps in the reference image. Finally, adding a ground plane and merging these meshes together, the result looked like this:
Having completed the geometry for a single tile, I could then discard the reference image and tile the geometry to create a larger texture (with more scope for variety):

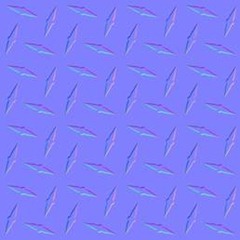
From this geometry, I could then begin to generate my textures. For this material, I began by generating a normal map in 3DS Max. In order to render out the normal map, I created a low-poly version of the tile (just a simple quad) and then used 3DS Max’ Render to Texture feature to project my high-poly model onto the low-poly model. I was initially confused because although I had asked it to generate a normal map, the render that was displayed on screen was a standard render. After watching this really good video tutorial, it turns out that this is actually fine, and the resultant texture on disk was actually a normal map:
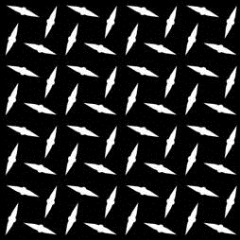
As well as rendering out a normal map, I also applied a solid white material to the bumps and a solid black material to the ground plane, and rendered out these out as a diffuse map. The resultant texture is displayed below and will be useful as a guide (and could also be useful as a mask to a detail / dirt map):
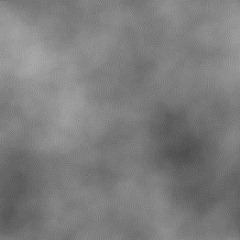
I then switched over to GIMP to create the albedo texture which for the sake of this very simple experiment is some noise:
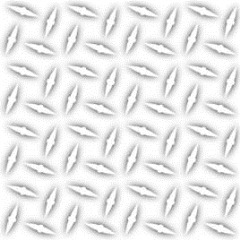
To make this material a bit more interesting I also created an AO map by blurring the mask texture and then subtracting the original mask texture from the blurred mask. Finally, I inverted the results so that it looks something like this:
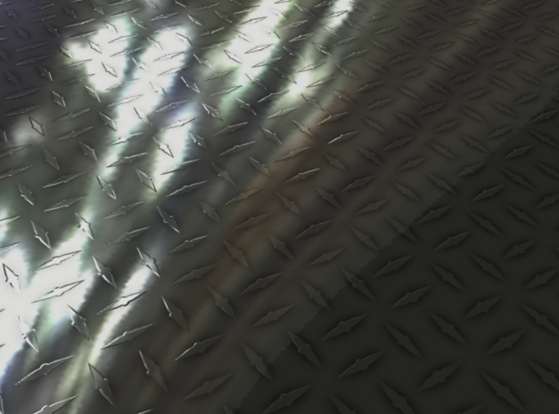
Finally, putting this all together back in 3DS Max (and using nice ray-traced reflections), the resultant material looks something like this: